It was while writing my 2015 round up that I realised how different my photography of dolls has – I’d like to think improved – over the year. So for today’s post – I thought I would focus on one of my favourite dolly-related activities – taking photos of the girls, and how I go about doing so. Hopefully there will be some handy tips in there.
A very quick disclaimer – I’m still learning, so this is just what I have experienced, and not anything solid. I’m not a photographer by trade. By trade, I’m a designer – so what I might be blessed with is just composition, but everything else is just trial and error and self-taught.
Since May of 2015 till January of 2016, I’ve taken 8240 photos (according to my computer hard-drive) comprising of over 100 gigabytes of data. This does not include the ridiculous amounts of photos on my iPhone, or the phone before it. Of the 8240 photos, 7900 are just of dolls.
Some background – buildings are my thing. I’m used to taking building photos. Or landscape photos. I’m much worse at portrait-shots – which for me, is more of what dolly photography is.

People have asked me for some tips in improving their photography, so I thought I would break this post down into a few sections. This is hopefully just the first post I do about this, so we’re going to cover camera basics, and lighting.
1. Practice
Don’t you hate it when people tell you the first thing to do to get better at something is to do it more times? Lets have a bit of a look.
2. Lets do some basic camera things (oh goodness, I hope it’s not too technical)
Aperture, Shutter Speeds, Focusing, all that jazz – if you’re not using an automatic point and shoot like your iPhone.
Lighting is so very important for camera work. Why, you may ask? The camera works very similar to your eye. The “sensor” or the “film” is the back of your eye, and that captures the image. The “lens” is what lets the light in. What your sensor is capturing is the light in that particular moment in time. The shutter? Thats how long you are closing your eyes. Once you close them, you save your image. The Aperture? Thats how big your pupils are (like in the dark, your pupils are large, they’re trying to get as much light in as possible!). When it’s light, your pupils are small, trying to limit the light so that it doesn’t blow out your sensor.

You know when Apple are selling their new iPhone, and Jonny Ives says “This new iPhone has an aperture of 2.0”? The bigger the number, the smaller your pupil is. So that small number of 2.0 means that the phone performs better in the dark. When you look at your lens, and you see a f/14 – that means that it won’t let in much light.
Aperture is also really tied to focus. Lets just say, the smaller the number, the less focus you have. Think about those laser focus experiments, or magnifying glasses. The bigger the hole, the harder it is to get a pinpoint focus location. Therefore, when you have an aperture of 14, it means that a lot of the picture will be in focus, and when you have a 2.0, it means that a lot of it won’t. That’s why you get that lovely creamy blurry background (famously called “bokeh”).

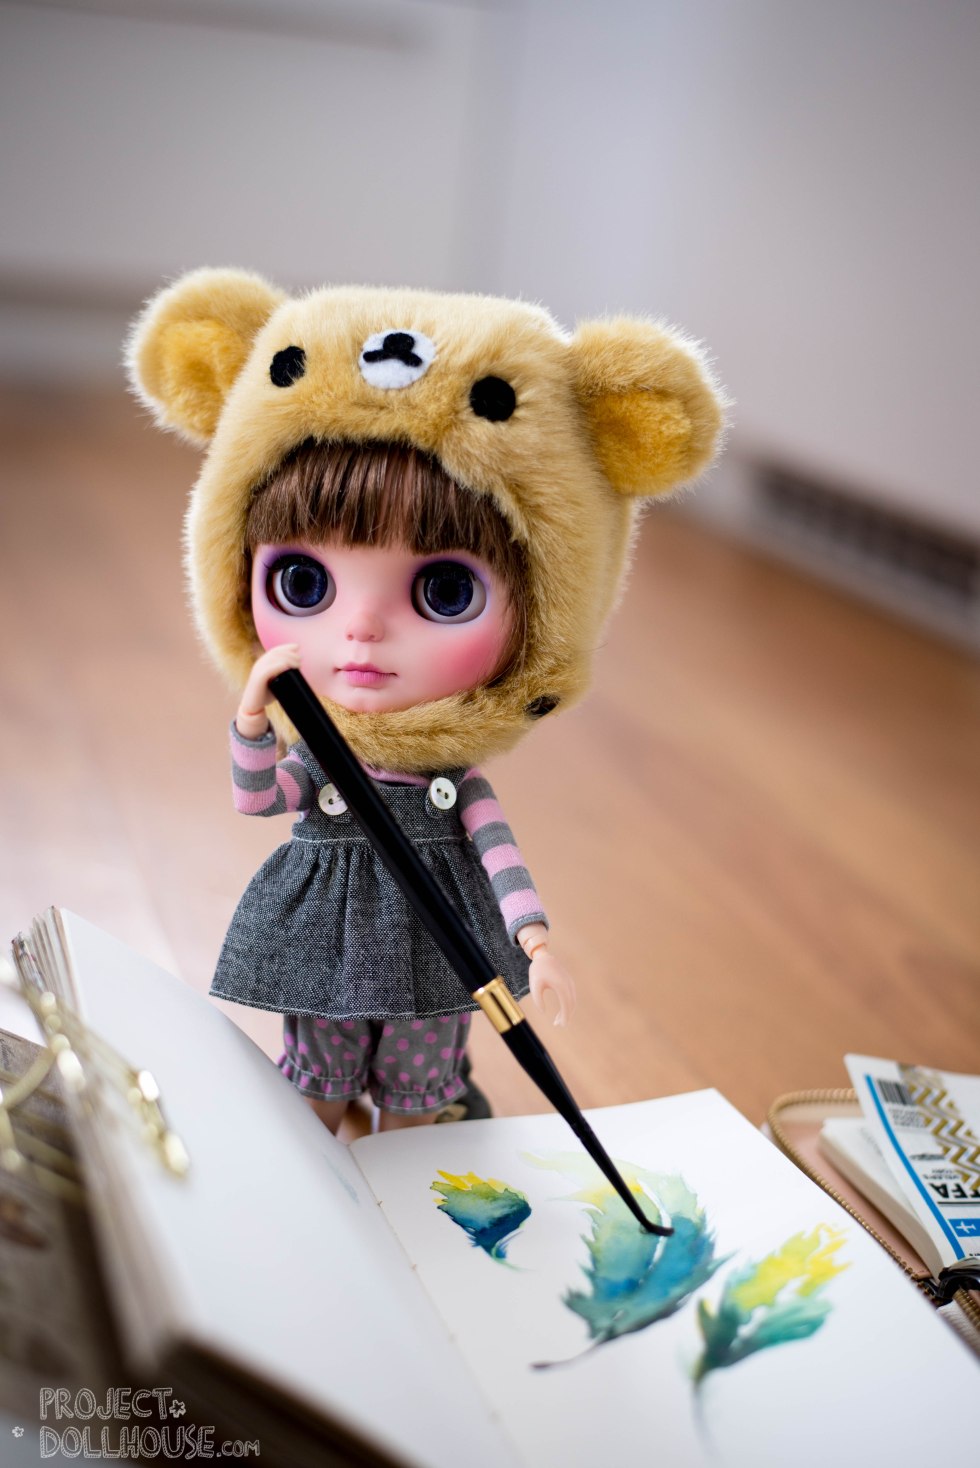
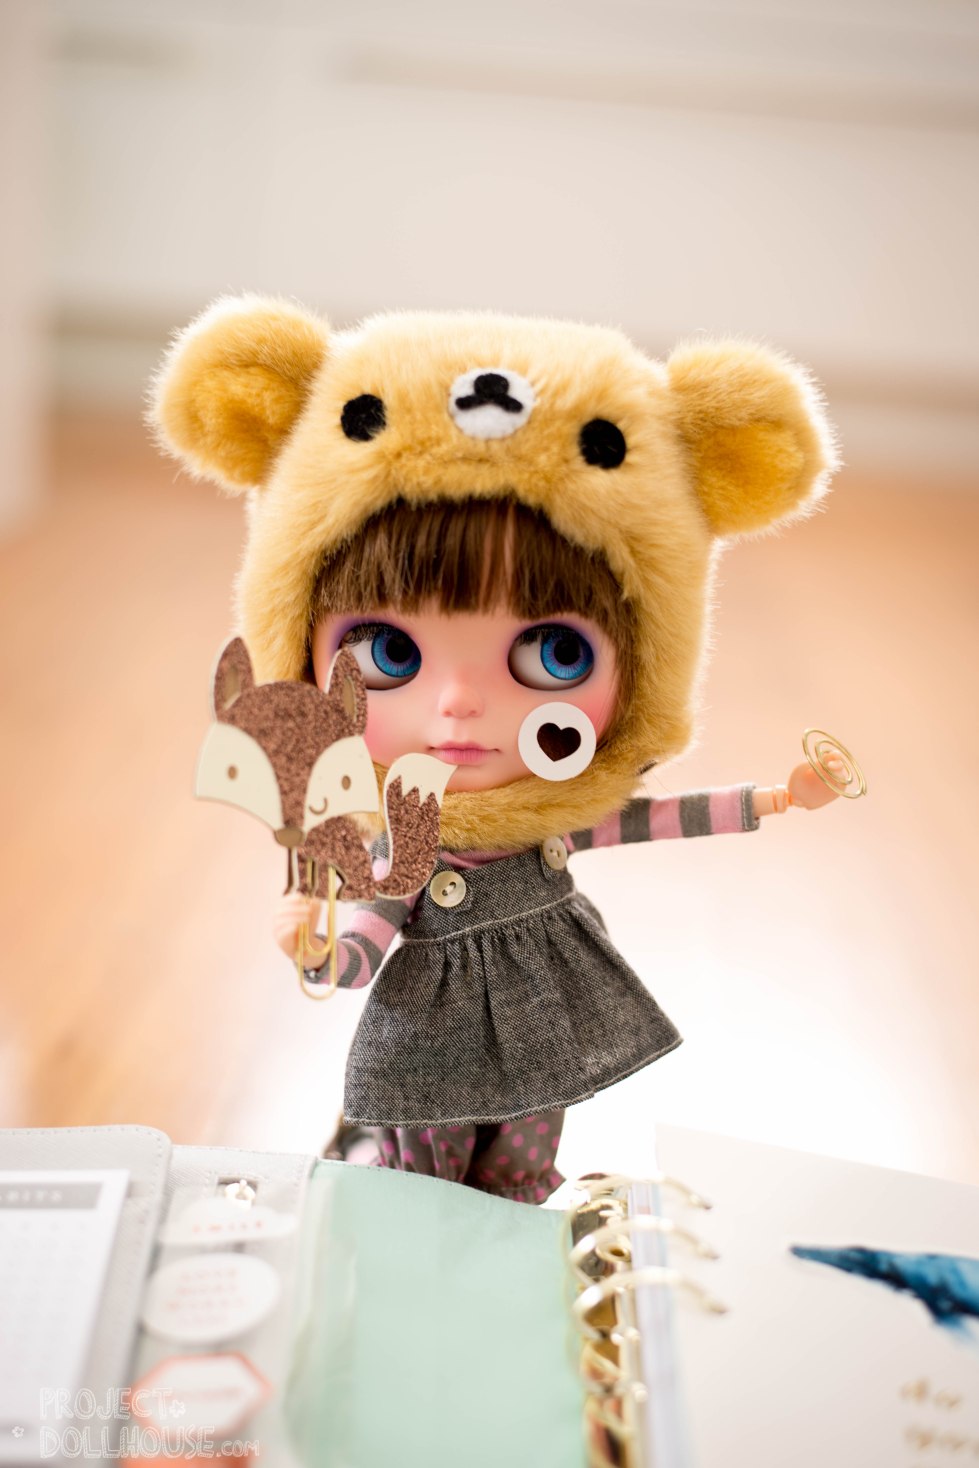
See the photo above? I took it using a f/2.0 lens. It means my focus is very shallow. Therefore, BB8 is out of focus, Nori is in focus, and everything else is a glowing blurry mess. We call this “depth of field”.
There’s one more camera function I should mention – ISO. ISO is how sensitive your film is. The higher the number, the more sensitive. This doesn’t come with some cons though – high-numbered ISO settings also come with a lot of grain.
So lets round that section up:
Aperture: Controls how much light is let in, the depth of field
Shutter Speed: How long the camera lets light in. The darker the scene, the longer the shutter needs to be open. Measured in fractions of a second.
ISO: The sensitivity of your camera sensor
This helps you understand the photography mumbo jumbo a bit, or if you’ve inherited a camera off a family member with a whole bunch of settings. Those three are what you mostly play with. Think of them as a well balanced set of scales – you need to compensate for each one if you change any. Lets say your picture is too dark. You’ve got options then – you can make your shutter speed longer to let in more light (which means you need to keep more still), or you can widen your aperture (which means you lose your amount of focus depth) or you can up your ISO (which can result in a grainy picture). There’s always generally a sweet spot. Play with all the settings and see if you can work it out!
3. Lighting
Now that we’ve talked about how light enters your camera, lets talk about how important lighting is. At the beginning, I found it really difficult to photograph indoors, at night time. There’s no light. The pictures are grainy. Most of the time the lights are coming from the ceiling. You get weird overcast shadows (especially on Blythe, those giant eyes >.<). It’s hard. So, when I started out, I almost exclusively took photos outside in daylight. But, all lights outside are not created equal! Some hours of the day are just that little bit easier to take photos in.
Golden Hour
My brother, who is the much more talented portrait photographer (I steal his camera a LOT of the time, and he rolls his eyes at me all the time, but he sometimes gives me awesome pointers). He loves taking his photos at the golden hour. It’s that time just before the sun sets, it’s a little low, and golden tones bleed out into the sky.
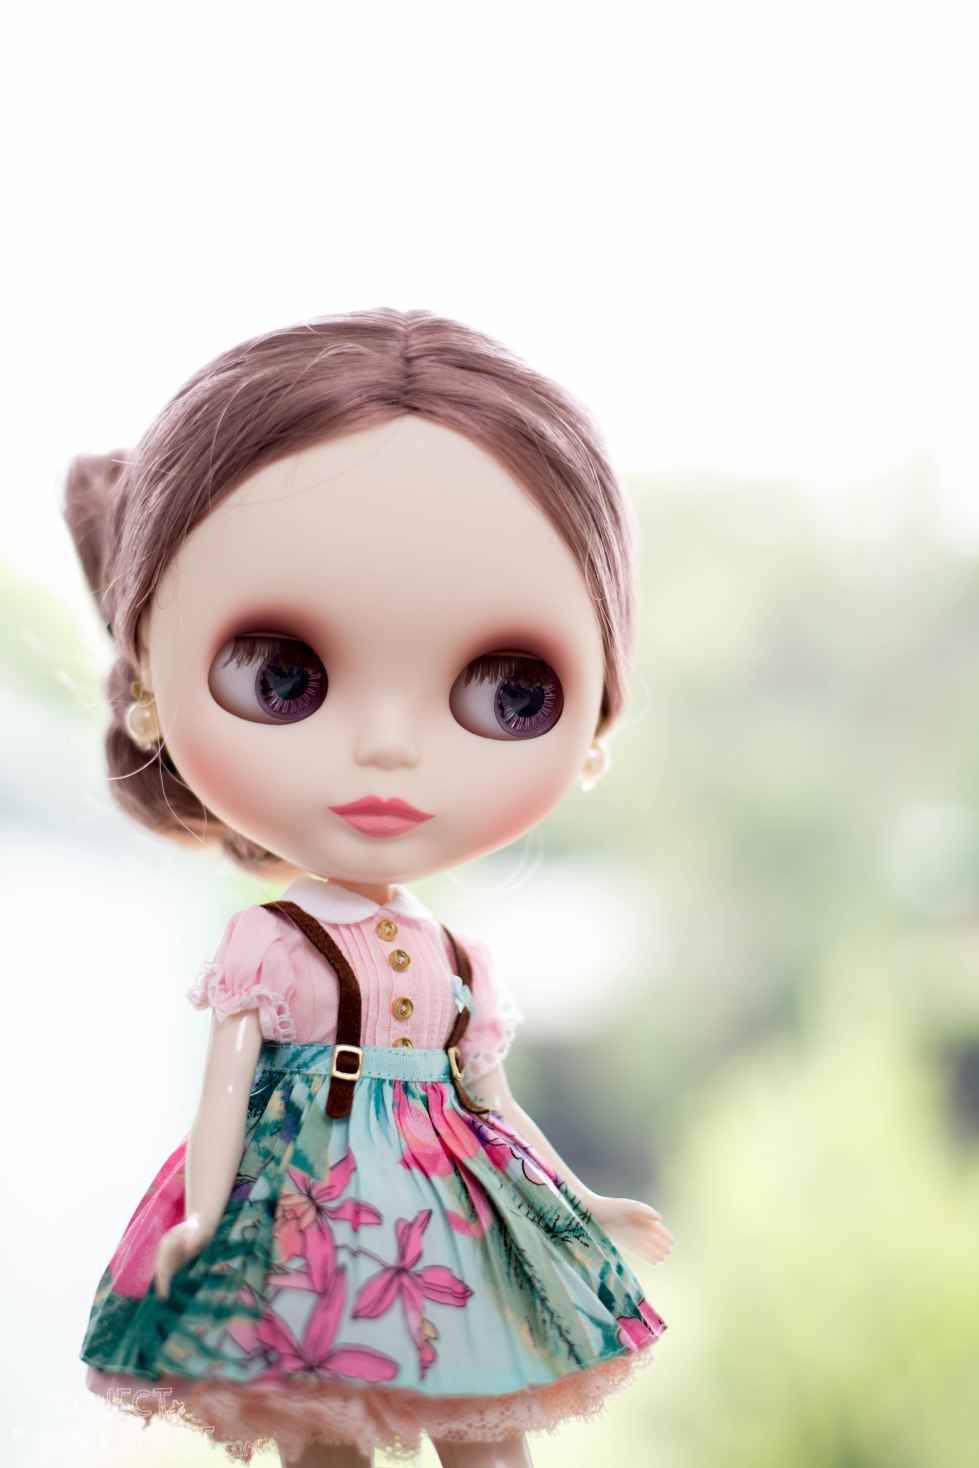
Then you stick your doll in front of the sun, and then take a photo.

You see that little fuzzy light around her hair? That little glow? Thats from the back lighting. But because the sun is awesome (most of the time) the front of her face is still lit well enough to take a photo. To do this indoors you need a back light source, as well as a front facing flash. Flash, is a whole different kettle of fish. Side Note: Flash can make your dolls look scarily washed out! Beware flash if you are just starting out!
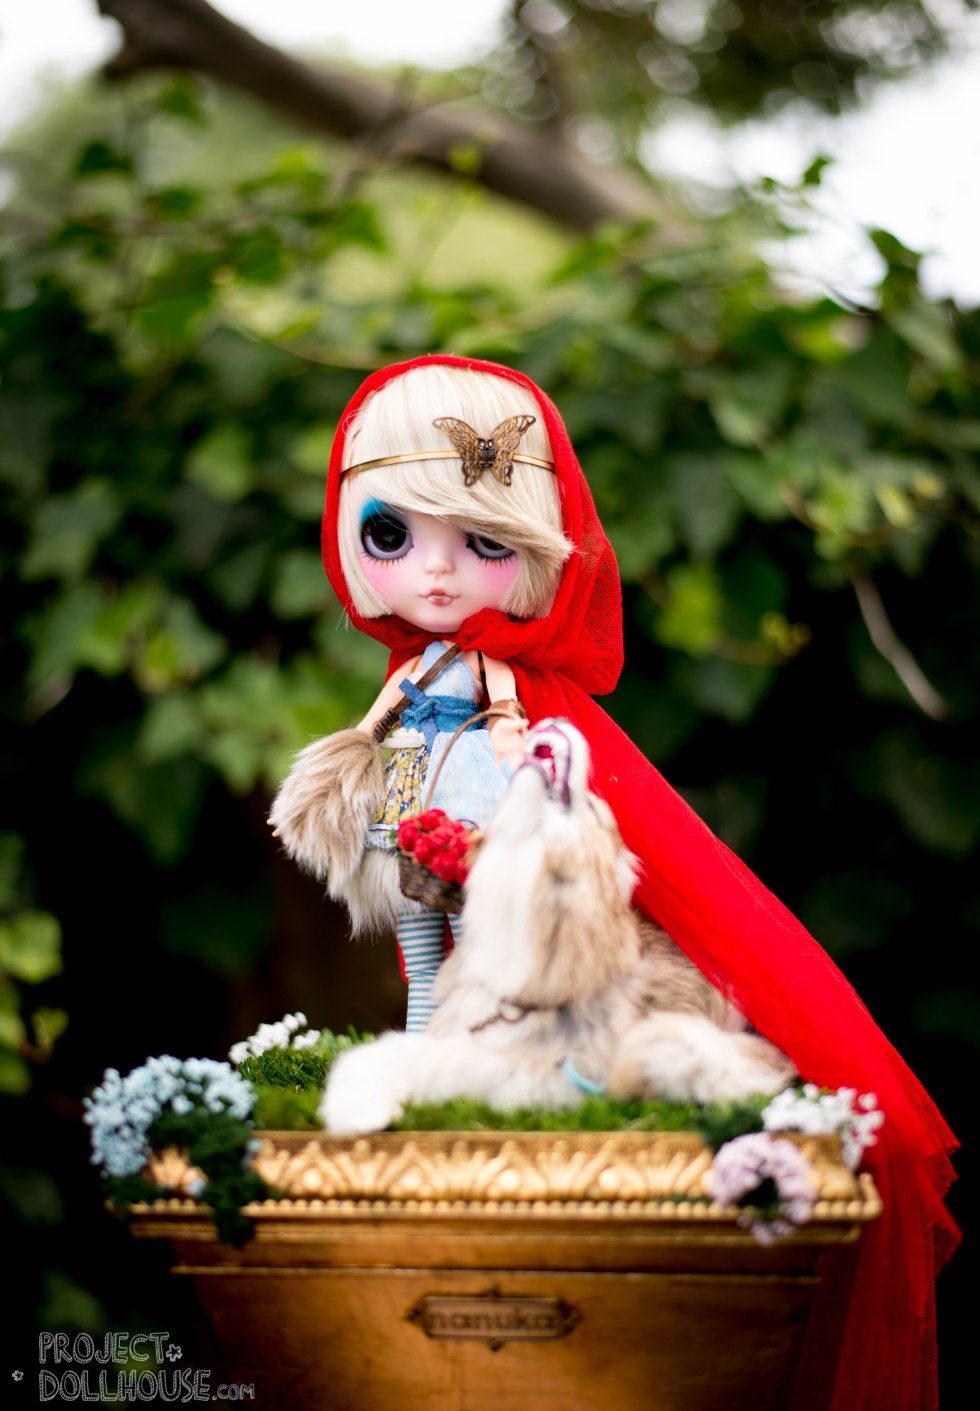
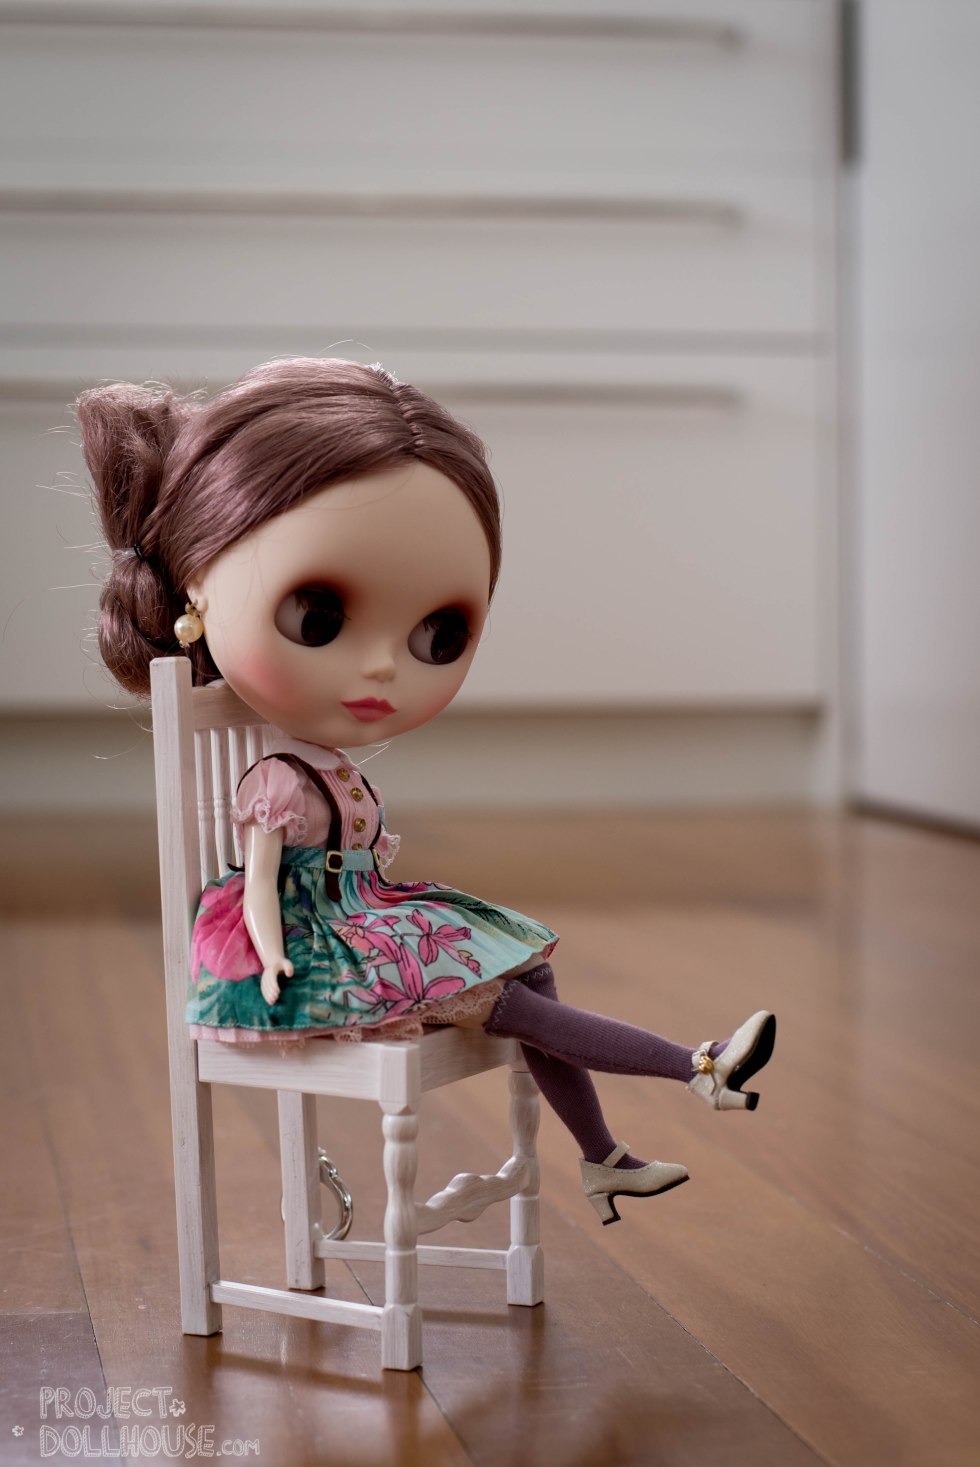
This photo of Little Red was taken about 45 minutes before Artemis, and you an see that this is just before the sun started doing its golden dance, and you get less of that warm glow and that halo back lighting.
Overcast days vs. SUCH BRIGHT DAYS
You might be thinking, YAY the sun is so bright! Not a cloud in the sky! Must be an awesome day for photos! No, not really.
Clouds are great. They act as a great diffuser for sunlight, creating that lightbox lighting. They soften the sunlight. If you are taking photos on bright sunny days, try to do it a bit later, so the sun is not directly overhead causing spooky harsh shadows! You can make it work, but you just have to be a bit more careful.

Outdoors and Indoors
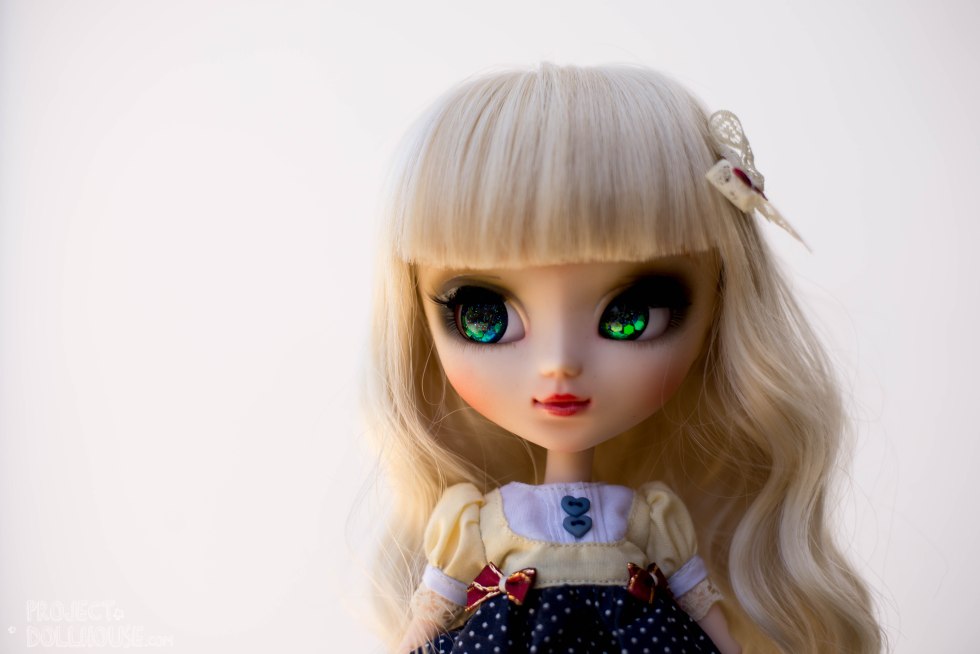
As much as I’ve spoken about nice lighting indoors – a nice, well-lit room can do just as well. A dark room can be used, but requires a lot more balancing and wrangling. It’s summer at the moment, so my kitchen is a nice place to take photos.
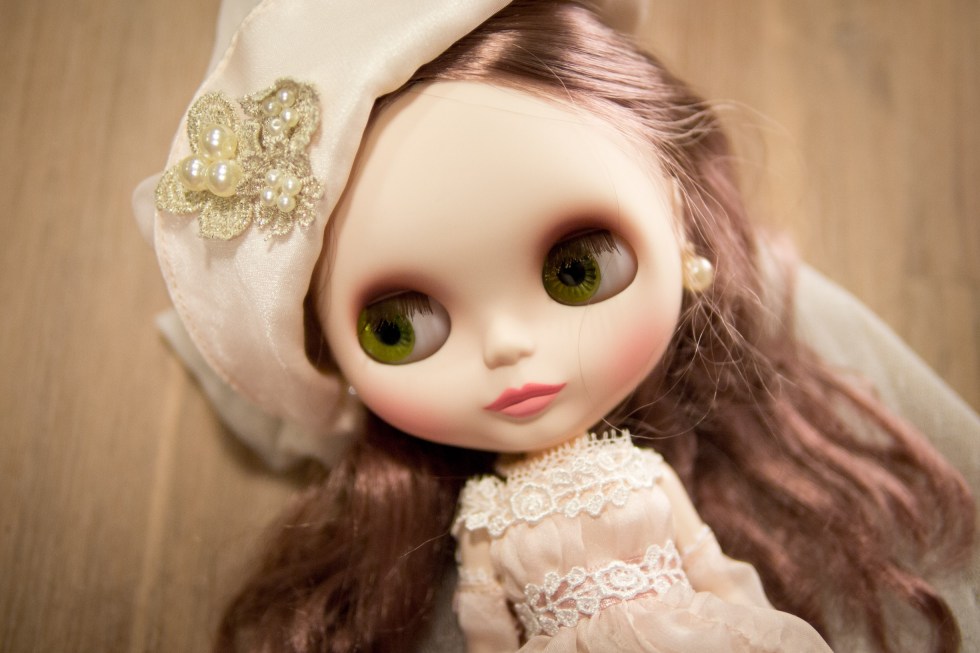
The above photo of Bianca, you can see I’ve lost just a bit too much light, and the shadows are making her eyes a bit spooky.
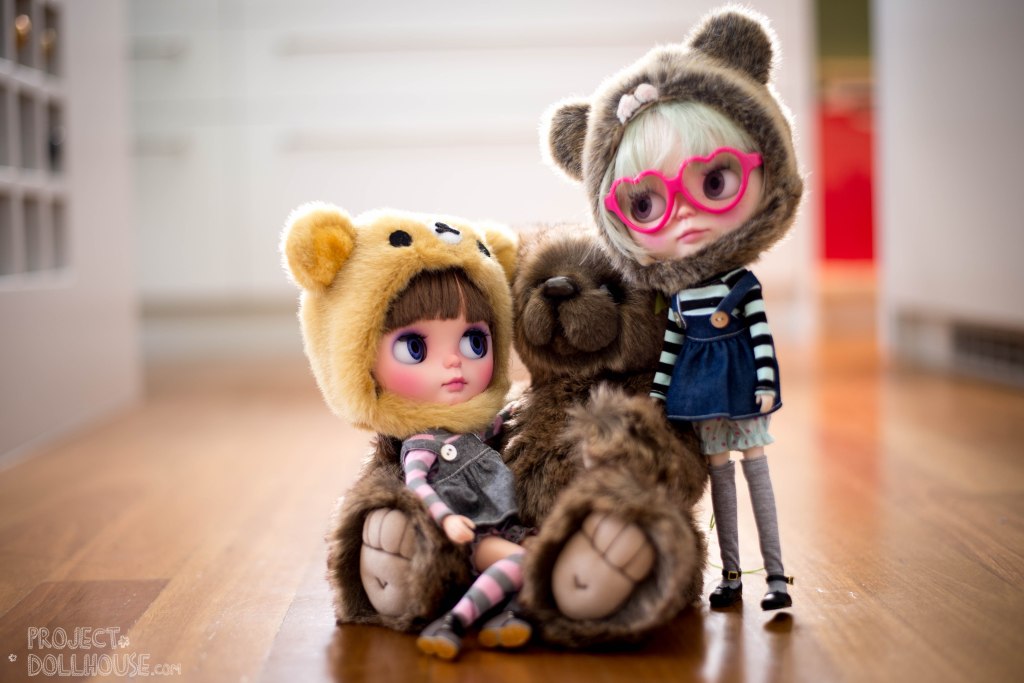
A lot better here right? The window had a lot more light coming in.
OK! I think that covered a few topics for today. WordPress is saying I’ve written 1500 words, so I am so sorry. What else would you be interested in a little write-up about?